Mario Hat Cake
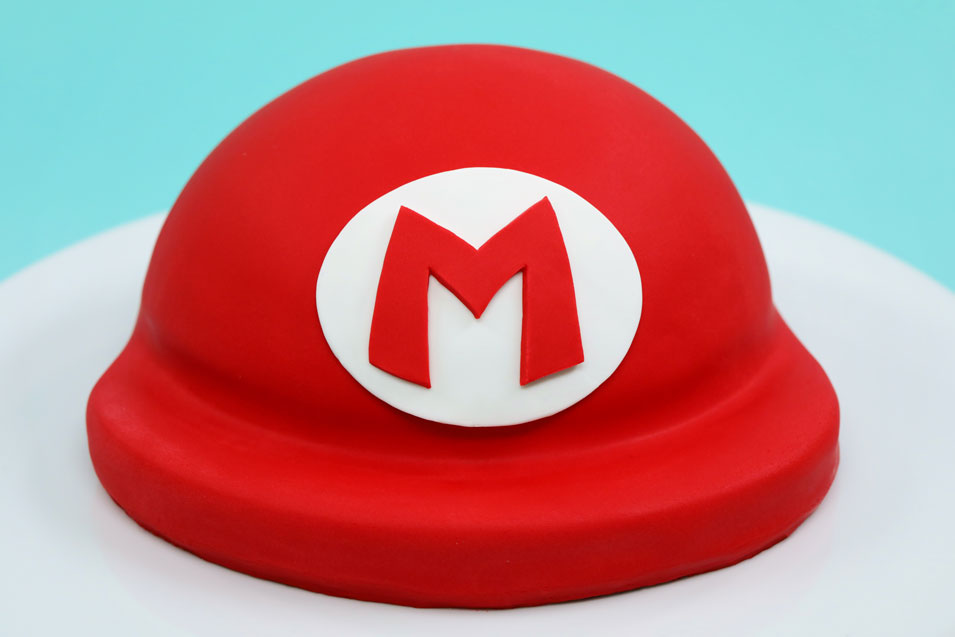
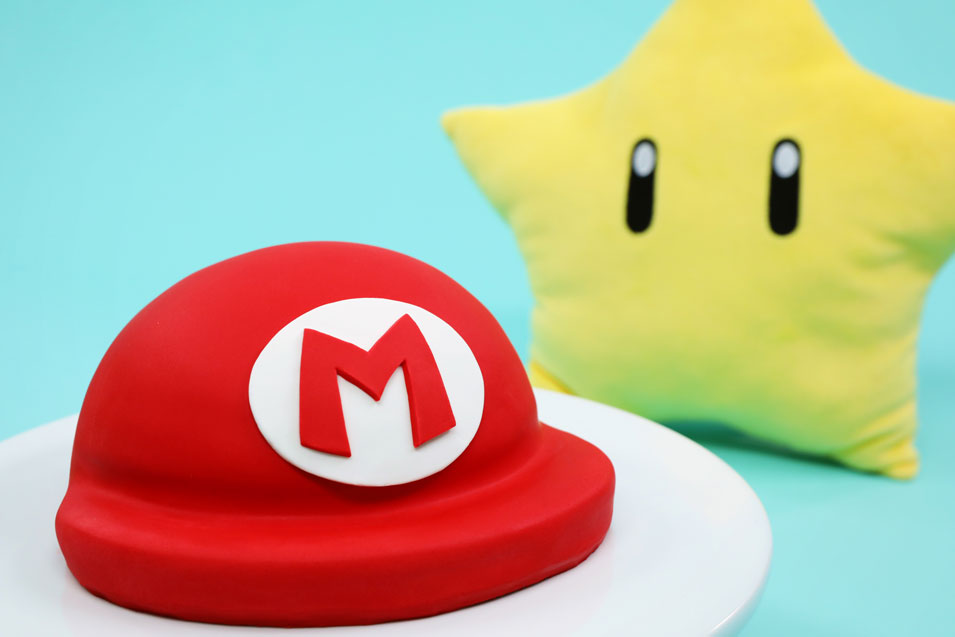
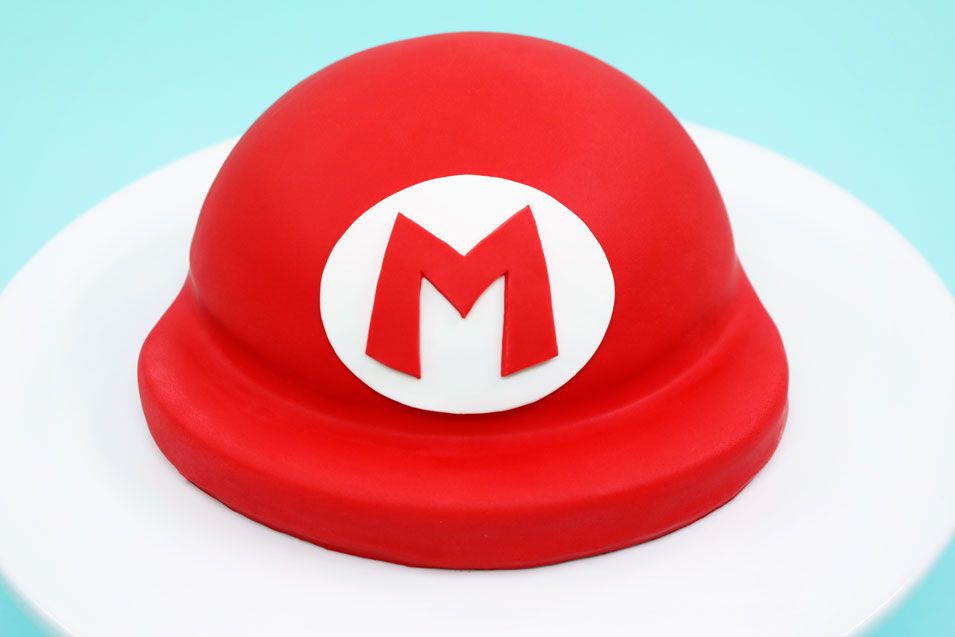
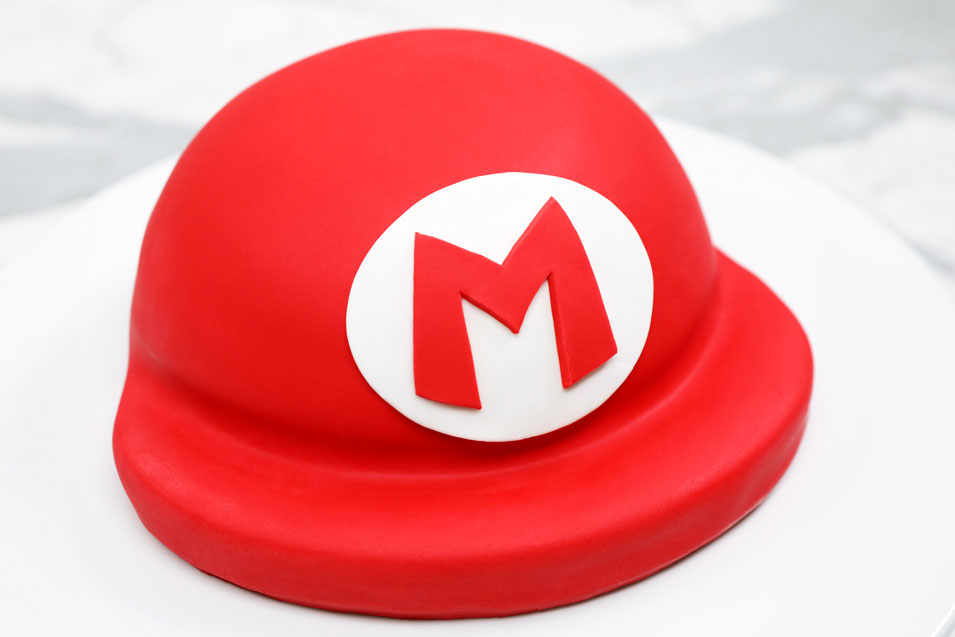
A red velvet cake decorated to look like Mario's Hat!
Makes one 8-inch round cake & one half 6-inch sphere cake
Things you'll need
Ingredients- ¼ cup butter, unsalted
- 1 cup sugar
- 2 eggs
- ½ teaspoon vanilla extract
- 1 cup all-purpose flour
- 2 tablespoons cocoa powder
- ¼ teaspoon baking soda
- ¼ teaspoon salt
- ½ cup sour cream
- ¼ cup whole milk
- 1 ½ teaspoons red gel color
- White buttercream frosting in a decorating bag
- Red & white fondant
- White royal icing in a decorating bag with a #2 tip
- Large bowl
- Medium bowl
- Small bowl
- Hand mixer with attachments
- Rubber spatula
- Whisk
- Ro’s Ball Pan, greased
- 8-inch round cake pan, greased & lined with parchment paper
- Baking sheet lined with parchment paper
- Large fondant roller
- Sharp knife
- Mario template
Here we go! (Let's get started!)
- Preheat oven to 350°F.
- In a medium bowl mix together flour, cocoa powder, baking soda and salt.
- In a small bowl, mix together milk and sour cream and set aside.
- In a large bowl, beat together butter and sugar until light and fluffy using an electric hand mixer.
- Add eggs, one at a time, mixing well between each addition.
- On low speed, alternate adding the flour mixture and the milk mixture to the butter mixture, beginning and ending with the flour mixture.
- Pour 2/3 of the batter into a greased ball pan and 1/3 of the batter into the 8-inch cake pan.
- Bake the cake in the ball pan for 55 minutes and the 8-inch cake for 25 minutes.
- Remove the cakes from the oven and cool completely.
Time to decorate!
- Using a template, cut the 8-inch cake into the shape of the bill of Mario’s hat.
- Frost 8-inch round cake and attach the half-sphere cake (PICTURE at 6:44).
- Frost the entire cake with a thin layer of frosting and chill the cake for 30 minutes.
- Roll out red fondant to a ¼ inch thick and cover entire cake.
- Use the Mario Hat Template to make a fondant logo (PICTURE at 7:31).
- Attach the logo to the front of the cake.
- WhooHoo! It's-a Mario Hat Cake!
